
The weather was so HOT in Charleston this past weekend so we took it easy on Sunday and decided to introduce Rowan to coloring for the first time. I kept my expectations low and aside from some attempted doodles on the table, playmat and the dog, he did so good!
In the process he tested my paint job, which I'm happy to say came completely clean after a few misses on the paper!
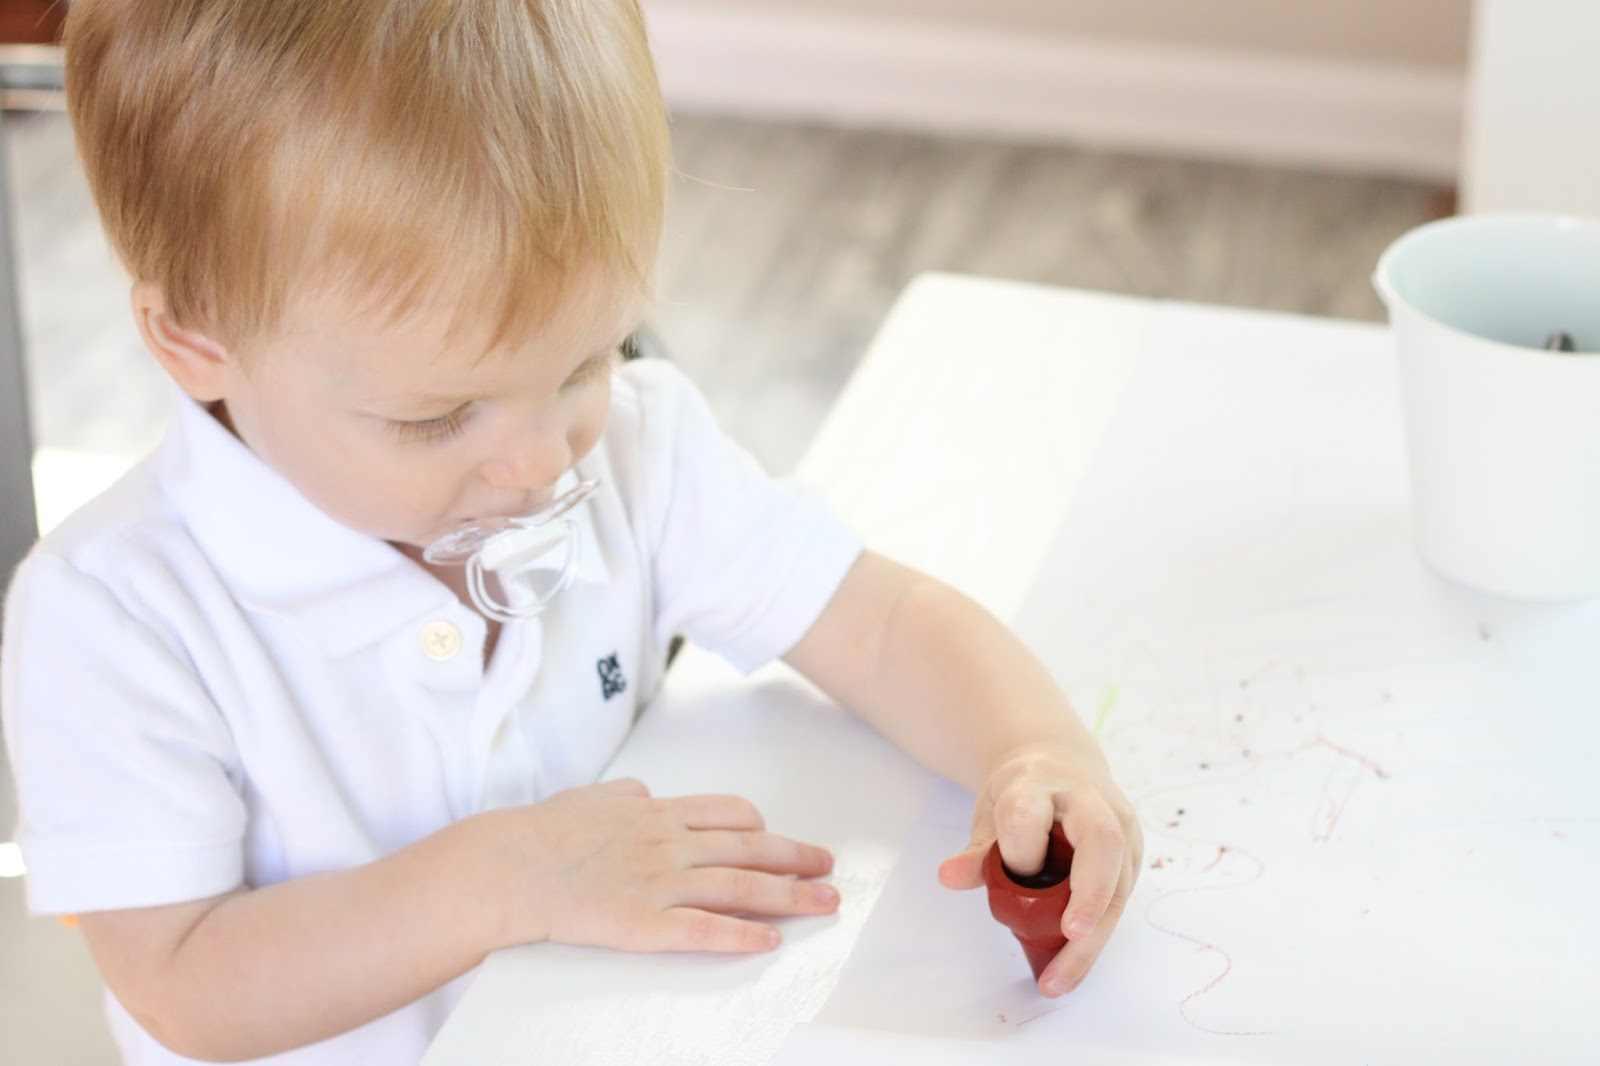
If you've got a toddler just getting into drawing, I highly recommend these finger crayons! Rowan would have broken regular crayons for sure, but these seem pretty indestructible especially after some chewing.


This table could have easily been built and painted in a day if you have a babysitter, but we were working between nap and bed times. Honestly this project reminded me how much I dislike painting furniture these days but I pushed through with the assistance of an adult beverage after bedtime.
I know there are a lot of readily made toddler tables out there for reasonable prices so if you don't already have the tools, I'll be completely honest with you that this project would not be worth your while.
So why did we make one? I wanted a specific size table to go with these Pillowfort chairs and to fit in his downstairs playroom, which as you can see is a little small and blocked off with a super glamorous baby gate. We also already had most of the tools and paint so it was a pretty cheap project. I think we came in around $20. It's not absolutely perfect but its level and Rowan loves it, so I'm going to call it a win!

The dimensions of our table top are 26"x20" so obviously adjust your cuts below if you're changing up the size a bit!
Materials and Tools:
3/4" Plywood (you can find smaller pieces at predetermined sizes in Lowes)
(1) 1x3x8" board
(1) 2x2x8" board
Semi-Gloss paint and primer
Wood filler
Drill
Kreg jig
1" and 1 1/4" pocket screws
Sand Paper (Highly recommend a power sander but a sanding block also works)
1 dowel road (Short versions can be found at craft stores for $2)
Paper Roll
Dowel Holders
Cut List:
(4) 2x2x20" (legs)
(2) 1x3x13 1/2" (end aprons)
(2) 1x3x20" (side aprons)
26x20" Plywood top
Our biggest problem was it can be tough to find straight 2x2" furring strips, and then the store employee cut them at uneven lengths. We immediately decided a table saw is in the cards for our next DIY project!
First, drill all of your pocket holes on the 1x3 boards. All boards should have the same pocket holes: 3-4 along the long side then flip the board over and two on each of the short ends as shown below.


Make the frame first by drilling 1 1/4" pocket screws on the short ends into all of the legs. This will require one person to hold everything in place while another uses the drill. Make sure to arrange it so the pocket holes on the long sides of the boards are facing down like in the picture above.
Once the frame is assembled, attach it to the plywood top with 1" pocket screws.

Fill in your holes with wood filler and sand once dry.
Then prime or skip straight to paint if you want to. I did one coat of primer and 2 coats of paint, sanding lightly in between coats with a sanding block.
Once your paint dries, attach the dowel holders underneath on one end.


Andddd you're done. So yeah a little time consuming but very easy and now we have a custom table and the paper is definitely the best part. Rowan has been wanting to "color" everyday after daycare this week and its been so much fun!


This is such a great table for Rowan! I love the paper roll underneath - it's a perfect addition to the table :)
ReplyDeleteThis is so genius! I love it - especially the roll of paper! You did good mama :)
ReplyDeleteI love the idea of the roll paper! And I'm definitely getting those finger crayons. The regular ones don't last long lol. We just bought an ugly plastic, primary colors table for Camden. Yours looks way more stylish!
ReplyDeleteNice work! I'm always impressed by your DIYs! Love the roll of paper that's attached - genius. We just introduced Logan to chalk a few weeks ago, so we need to get some crayons now!
ReplyDeleteSeriously precious!
ReplyDeleteThis looks amazing!!! I am so impressed!
ReplyDeleteI am super impressed with your table and that you built it! Shoot, I kind of think we should build ours too now!
ReplyDeleteSeriously genius! Great job! Those finger crayons are great too!
ReplyDeleteyou guys are so crafty!!! the table looks great!
ReplyDeleteYou are a freakin' GENIUS! Love this! And thanks for the crayon tip!
ReplyDeleteSuch a smart idea! I love it!
ReplyDelete